A planting plan is the drawing and the list that turn an idea for a bed into an order you can place and a layout you can follow with a trowel in your hand. It is the step most people skip, which is why so many borders are bought in a single trip to the nursery and planted in a single afternoon, and then look thin for two years and crowded for the rest of their lives.
This guide walks through the whole method: measure the site, record what the site is like, decide what the planting is for, choose plants by what they become rather than what they look like in the pot, lay them out in an order that works, and write the plant schedule that goes to the nursery. There is a template for that schedule near the end. The method is the same whether you are planning one bed by the front door or every bed on a property.
What is a planting plan?
A planting plan has two parts, and both matter.
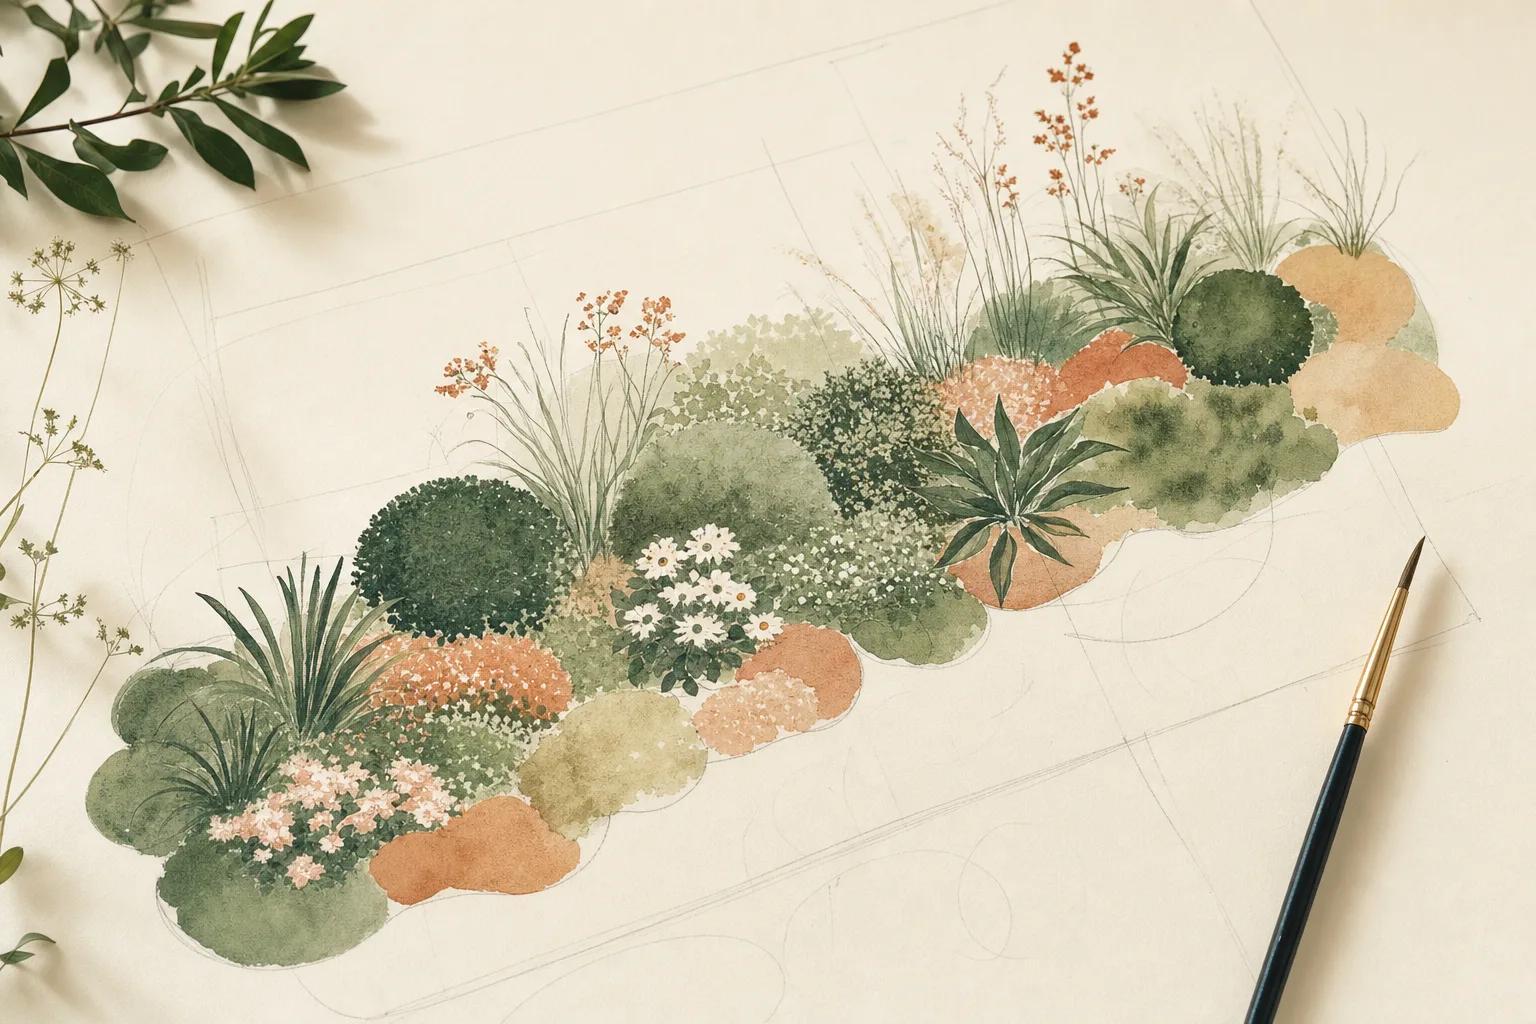
The first is a scaled drawing that shows where each plant goes. Each plant is drawn as a circle the size it will be when mature, so the drawing is also the spacing. The installer, whether that is you or a crew, follows this part.
The second is the plant schedule: a table that lists every plant by common name and botanical name, with the quantity, the size you are ordering, the mature spread and the price. The nursery fills the order from this part, and it is where the plan gets a number at the bottom.
A planting plan is not the same as a landscape plan. A landscape plan covers everything on the site, including paths, walls, drainage and lighting. The planting plan is the part of it that covers the plants. If you are only changing the plants, the planting plan is all you need.
Step 1: Measure and draw the base map
Everything else sits on this, so do it properly. You need a long tape measure, a notepad, and a fixed line to measure from, usually the wall of the house or a straight fence.
Measure the outline of the bed or the area you are planning. For anything that is not a straight line, take measurements from two fixed points to each corner or curve, so you can plot it accurately later. Note the position of everything that will still be there after you plant: the house and its windows and doors, paths and their widths, fences, steps, downspouts, taps, utility covers, and every existing tree and shrub you intend to keep. For trees, measure the canopy as well as the trunk, because the canopy is where the shade and the root competition are.
Draw the base map to scale on graph paper or in any drawing program that holds a scale. Mark north, because you will need it for the sun. Make several copies, or lay tracing paper over it, so you can try layouts without redrawing the site each time.
Step 2: Record the site conditions
The plants that live are the plants that match the site, so before you choose anything, write down what each bed is actually like. Record these on the base map, bed by bed, because conditions change across a garden.
Sun hours. Watch the bed through a day, or several days across a season, and note when it is in sun and when it is in shade. Full sun is usually taken to mean six or more hours of direct sun; part sun or part shade is roughly three to six; shade is less than that. A bed under a tree or on the north side of a house is often in deeper shade than it looks at midday.
Soil. Dig a spade's depth and look. Squeeze a damp handful: sandy soil falls apart, clay holds a shape and feels sticky, loam sits in between. Note whether it is shallow over rock or builder's rubble, and whether it is compacted.
Drainage. After rain, note where water sits and for how long. Dig a hole, fill it with water, let it drain, fill it again and watch how quickly it goes. A bed that stays wet needs plants that tolerate wet feet; a bed that drains in minutes needs plants that tolerate drought.
Hardiness zone. Look up your USDA zone, or the equivalent rating where you live, so you only shortlist plants that survive your winter. Note any frost pockets at the bottom of a slope and any warm, sheltered spots against a south wall, because the zone is a starting point and the garden has its own microclimates.
Exposure and competition. Wind, salt, road spray, dog traffic, the dry shade under a mature tree, the drip line of a roof: all of these rule plants in or out. Write them down now, while you can see them, rather than discovering them in year two.
Step 3: Set the goals and the style
A planting plan without a purpose turns into a collection. Before you open a catalog, answer four questions.
What does this bed have to do? Screen a neighbour, frame a door, soften a fence, hold a slope, feed pollinators, give you something to cut, look good from the kitchen window in winter. Most beds have one main job and one or two secondary ones. Write them down in order.
How much time will it get? A bed that is weeded and deadheaded weekly can hold plants that need it. A bed that gets an hour a month cannot. Be honest, and plan for the maintenance you will actually do.
What is the budget? The schedule will tell you what the plan costs, so decide now what you are prepared to spend, and whether you would rather buy fewer, larger plants or more, smaller ones and wait.
What is the style? Cottage, formal, naturalistic, Mediterranean, woodland. The style decides the shapes of the groups and the kinds of plants. It also decides the layout method. A traditional border is laid out in blocks with the ground between them; an ecological or naturalistic planting is laid out in drifts that interlock and close over the soil. If you have not decided, our guide to planning a perennial border walks through both approaches with drawings.
Step 4: Build the master plant list with mature sizes
Now choose candidates, and choose them by role. A planting needs plants doing different jobs, and listing them by job keeps the mix balanced.
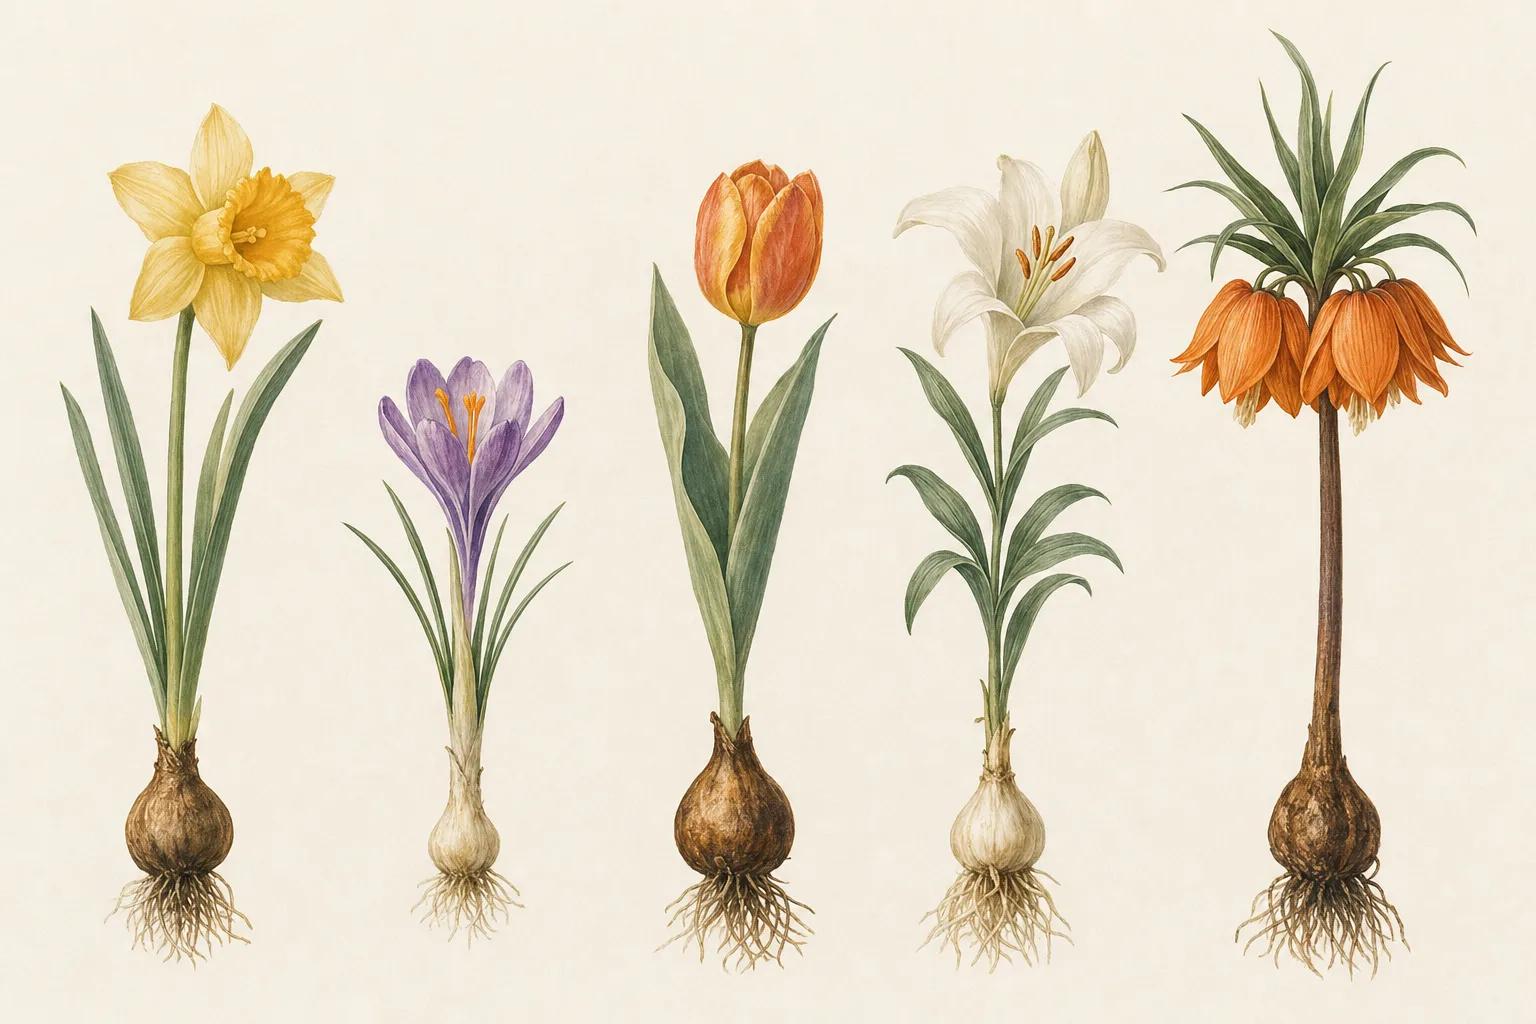
Structure: the trees and shrubs that hold the bed together in winter, give it height and define its edges. Theme plants: the perennials or grasses that repeat through the bed and give it its character. Seasonal plants: the ones that carry colour in spring, summer and autumn in turn. Bulbs: planted under and between the others for early interest. The ground layer: low plants along the front and between everything else, to close the soil over.
For each candidate, write down the mature height, the mature spread, the hardiness zone, the sun it needs, the soil and moisture it tolerates, and when it flowers. Mature means the size the plant reaches in the ground in your conditions, not the size on the pot label this spring. Cross off anything that fails the site conditions from Step 2, and cross off anything whose mature size will not fit the space it would be given.
Then cut the list. A short list of plants used in generous numbers reads as a design; a long list used in ones and twos reads as a collection. If you are planning one bed, a handful of species per role is plenty.
Step 5: Lay out structure, then drifts, then edges and repetition
Lay the tracing paper over the base map and draw in this order. Each plant is a circle at its mature spread, so the circles do the spacing for you.
Structure first. Place the trees and shrubs. Keep them off paths and away from windows by at least their mature spread, and think about what they will block in ten years, not next year. Group small shrubs in odd numbers and give specimen plants room to be seen.
Theme plants next, in drifts. A drift is a loose, elongated group that runs through the bed rather than sitting in a tidy block. Use odd numbers, let the drifts overlap, and let one drift of a plant appear more than once along the bed, so the eye picks up a rhythm. Taller plants generally go further back, but let a few come forward so the bed is not a staircase.
Seasonal plants and bulbs follow, threaded between the theme drifts so that every part of the bed has something happening in every season. Early-flowering plants whose foliage declines by midsummer go behind something that will hide them.
Edges and the ground layer last. Run low plants along the front and fill every remaining gap. Every gap you leave is a gap a weed will take, so draw the circles touching.
Repetition is what ties it together. Three or four plants, repeated along the length of the bed, do more for the design than a dozen different ones. When you have finished, step back from the drawing: if a part of the bed looks busy on paper, it will look busy in the ground.
Step 6: Write the plant schedule
Now count. Each circle on the drawing is one plant, so the quantity for each species is simply the number of circles, counted bed by bed. That count, with the details from your master list, becomes the plant schedule.
The schedule needs these columns:
- Bed, so the schedule can be sorted by where the plants go and subtotalled per bed.
- Common name, so the client, or your household, recognises the plant.
- Botanical name, so the nursery supplies the right plant and not a lookalike that shares a common name.
- Quantity, per bed and in total.
- Size, meaning the nursery size you are ordering: the pot size for perennials and shrubs, the height or the stem girth for trees. Size sets the price and how long the bed takes to fill.
- Spread, the mature width you used for the spacing, so anyone reading the schedule can check the drawing against it.
- Unit price and line total, so the plan carries its cost before anyone orders.
Here is the template, written in plain text so you can copy it into a spreadsheet or a notebook. Fill one row per species per bed, subtotal each bed, and total at the bottom.
PLANT SCHEDULE                                 Project: ____________   Date: ________

Bed   Common name          Botanical name               Qty   Size      Spread    Unit $    Line $
----  -------------------  ---------------------------  ----  --------  --------  --------  --------
1     ___________________  ___________________________  ____  ________  ________  ________  ________
1     ___________________  ___________________________  ____  ________  ________  ________  ________
1     ___________________  ___________________________  ____  ________  ________  ________  ________
                                                                        Bed 1 subtotal      ________

2     ___________________  ___________________________  ____  ________  ________  ________  ________
2     ___________________  ___________________________  ____  ________  ________  ________  ________
                                                                        Bed 2 subtotal      ________

                                                              Total plants  ____   Total $   ________
For the prices, ask the nursery you intend to buy from for a quote on the exact sizes, or use current listed prices and note the date you checked them. Prices move through the season, and a schedule with last year's numbers is a surprise waiting to happen.
Step 7: Check seasons and spacing
Before you order, read the plan twice more.
Read it by season. Go through the year month by month and ask what is in flower, what is in leaf, and what is holding the bed in the dead of winter. If a month is empty, swap one of the seasonal plants for something that covers it. If winter is empty, you need more structure or more plants with persistent seed heads and stems.
Read it by spacing. Check the mature spread of every plant against the circle you drew, and against its distance from the path, the house and its neighbours. Nothing tall should sit in front of something short. Nothing should overhang a path at maturity unless you intend it to. If you planted for the pot size rather than the mature size anywhere, this is where you catch it.
Read it against the conditions one last time. Every plant in the shady corner tolerates shade; every plant in the wet patch tolerates wet feet; every plant on the plan survives your winter. If any of them fails, change the plant, not the plan.
Step 8: Order and install
Order from the schedule, by botanical name and size. If the nursery offers a substitute, check it against the same four things: mature size, sun, soil and zone. A substitute that fails any one of them changes the plan.
When the plants arrive, set the pots out on the bed following the drawing before you dig a single hole. This is the moment you see the plan at full size, and it is far cheaper to shuffle pots than to move planted shrubs. Plant the structure first, then the drifts, then the edges, in the same order you drew them. Water each plant in as you go, mulch the bare soil between the circles, and keep the schedule, because it is the record of what you planted and what it cost.
Then wait. A planting that looks slightly sparse in its first year will look right in its third, because you planned it for the size it becomes.
Doing it in Sow
Everything above can be done with a tape measure and graph paper. If you would rather have the beds found and filled for you, Sow's Planting Plans tool works from the satellite view of a saved address: it outlines the beds it finds and fills each one with species that suit that bed's light and the hardiness zone, with four layout styles per bed and the option to swap or remove any species. When the plan is ready, Review Costs lists every species with its quantity and an editable unit price, subtotals each bed and totals the plan, and then exports it as a PDF. It is part of the Sow app on the Pro plans.
If you are a designer, our page on planting plan software for professionals shows that workflow in detail, and if you want to see how it compares with the other tools that make planting plans, we have compared the planting plan software we tested on the same site.
Final thoughts
The value of a planting plan is not the drawing; it is the decisions the drawing forces you to make before you spend anything. By the time you reach the nursery you know what the bed is for, what will live in it, how big each plant becomes, how many you need and what it will cost. Make the plan, count the circles, write the schedule, and the planting will look deliberate in year one and right in year three.

Garden writer covering planting design, seasonal care, and getting the most from a small space.