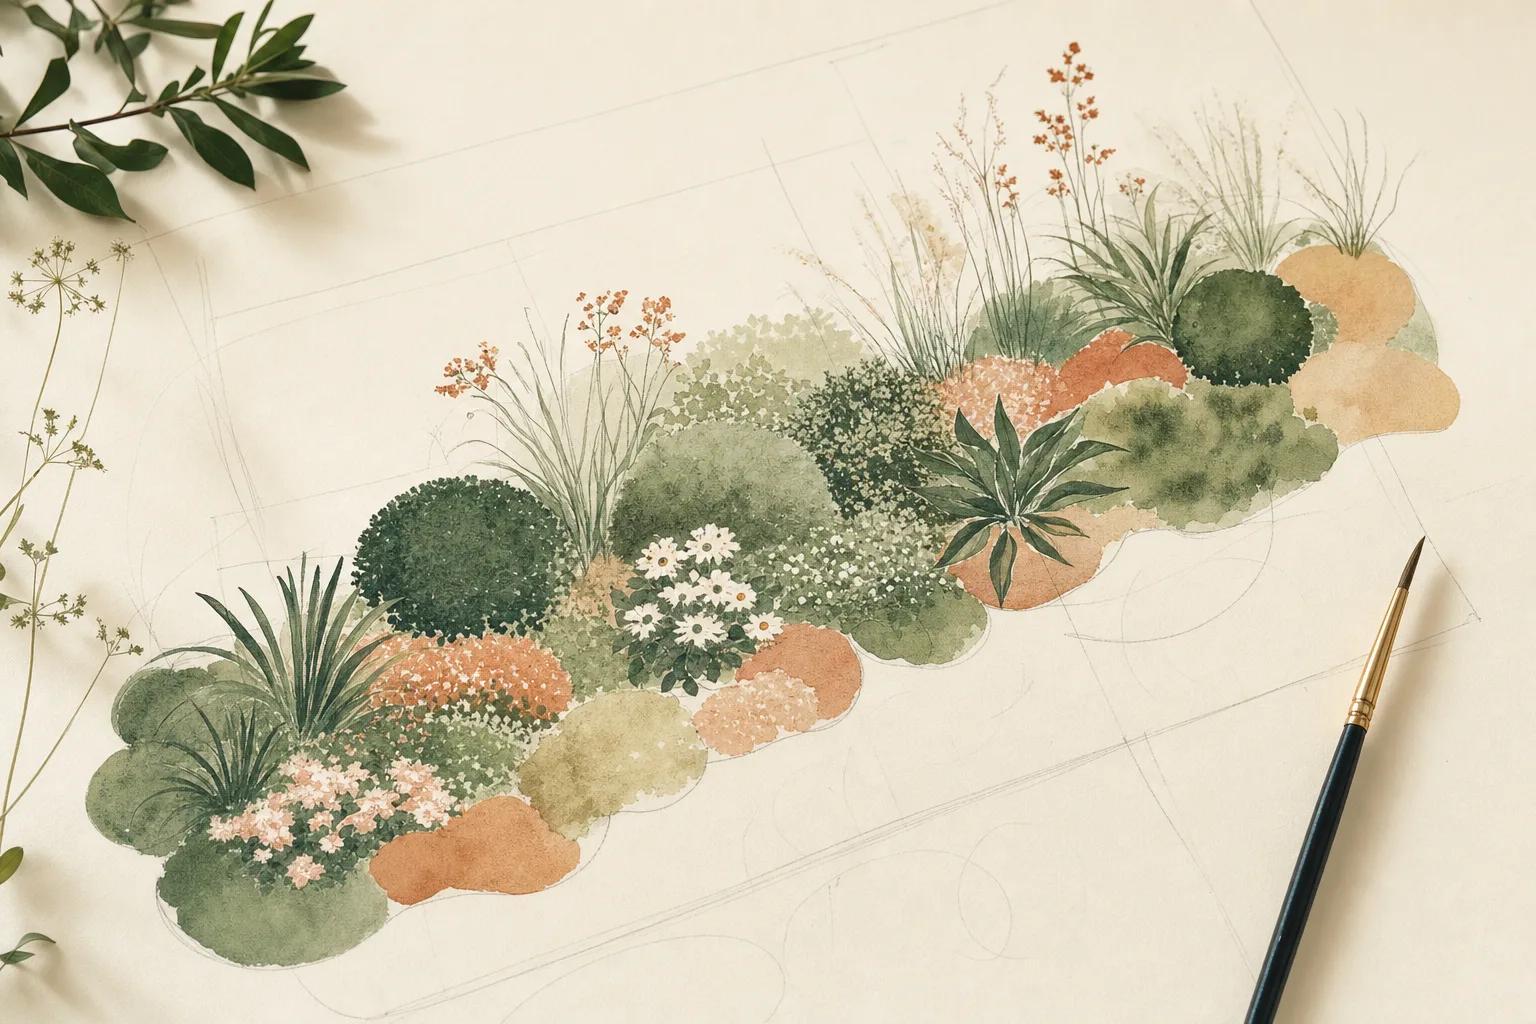
Creating a visually appealing border planting involves careful planning and thoughtful plant placement. Follow this step-by-step method for designing both traditional perennial borders and ecological plantings.
Laying Out a Traditional Border Planting
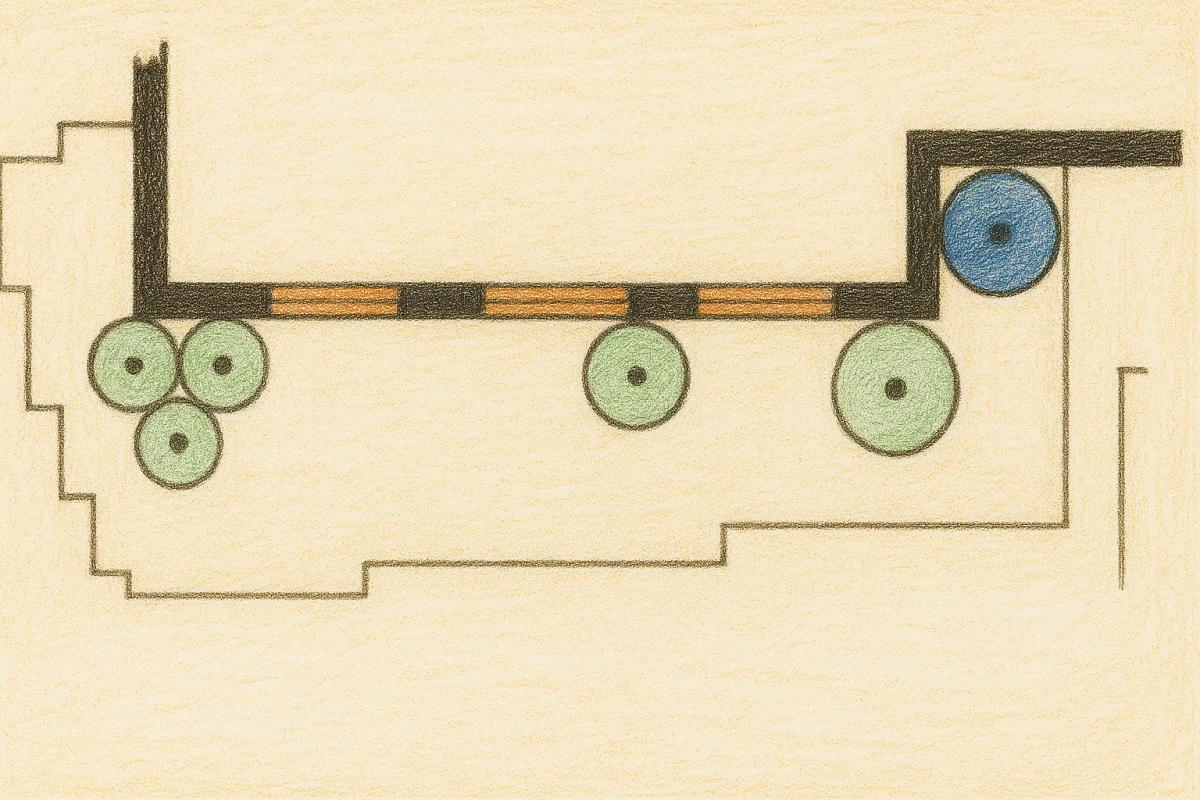
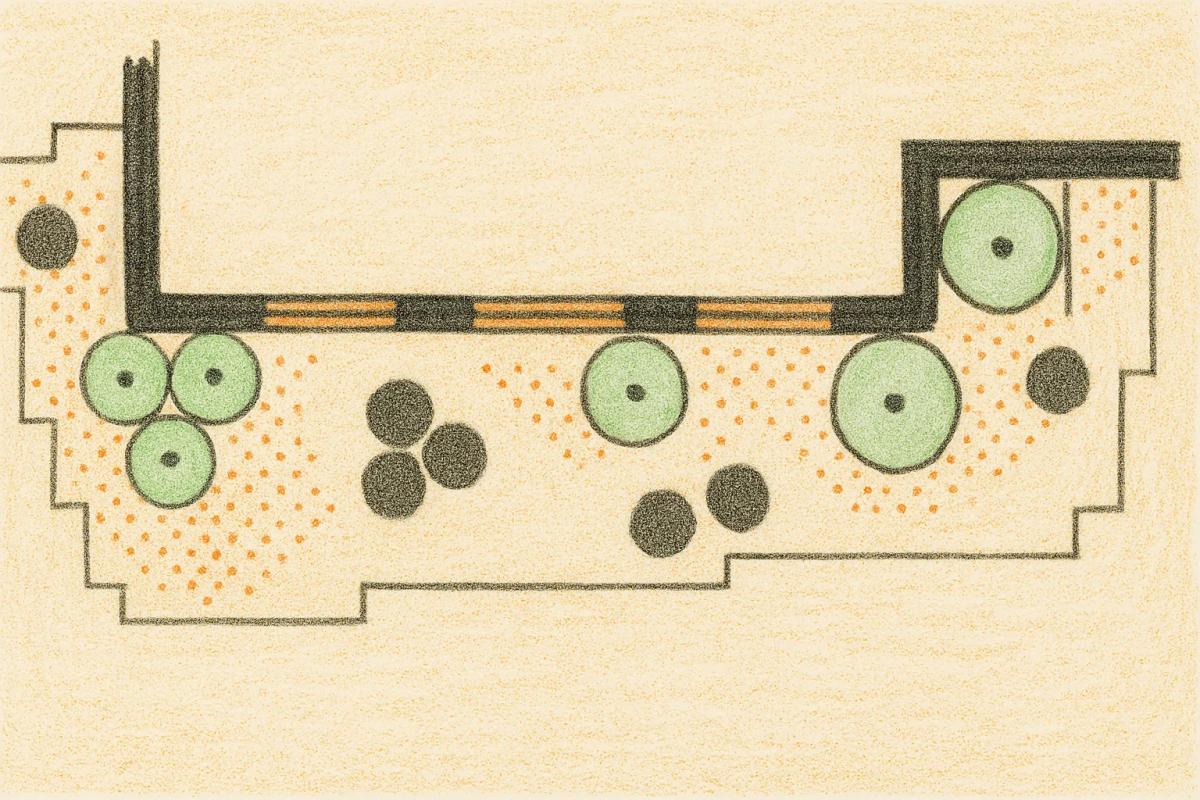
Imagine an area in front of your house wall or alongside a paved path. The following practical approach helps you establish a balanced and attractive planting scheme:
Step 1: Establish the Framework
Trees and shrubs form the structural backbone of your garden, providing year-round interest and improving microclimates.
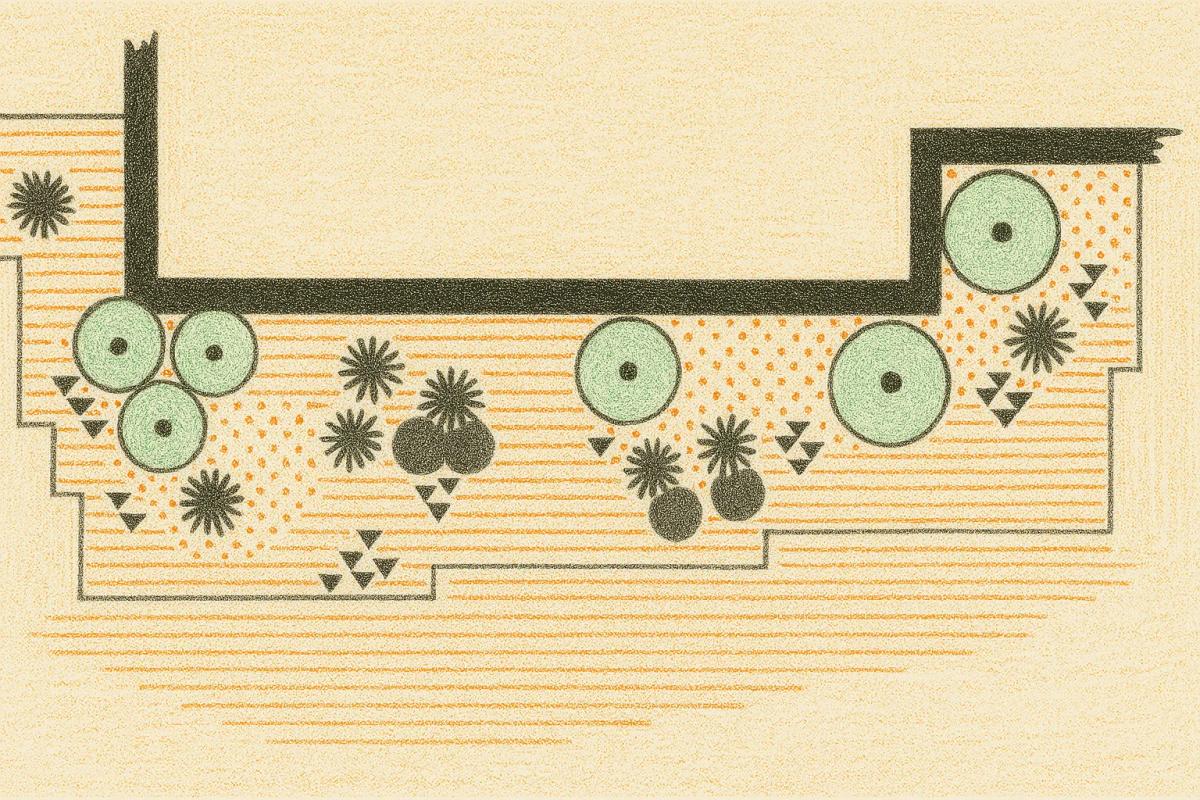
Step 2: Select Theme Perennials and Spring-flowering Bulbs
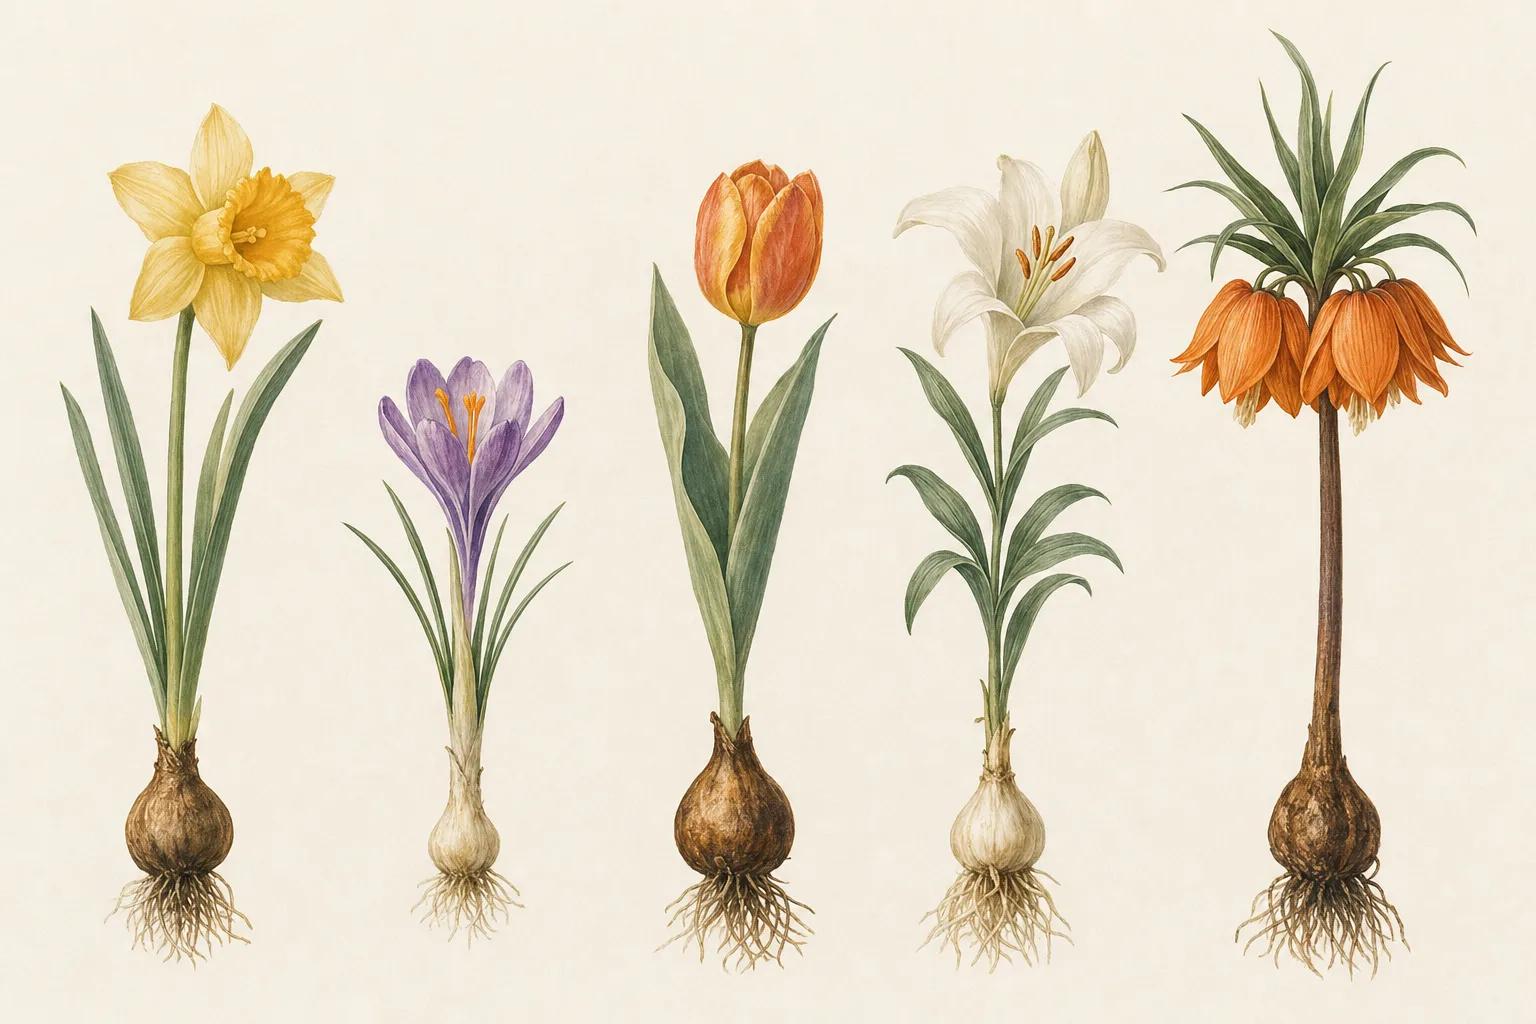
Theme perennials, such as phlox, create visual rhythm and unify your planting. Choose either a single standout variety or a harmonious blend of colors. Position spring bulbs towards the back, allowing them to spread gracefully from under woody plants.
Step 3: Summer to Autumn Bloomers
Early summer perennials should occupy rear positions. This placement ensures their declining foliage remains hidden as summer progresses. The main planting area accommodates summer and autumn perennials. Varied heights and repeat plantings prevent an overcrowded appearance. Remember, autumn bloomers often look best in the foreground.
Designing an Ecological Planting
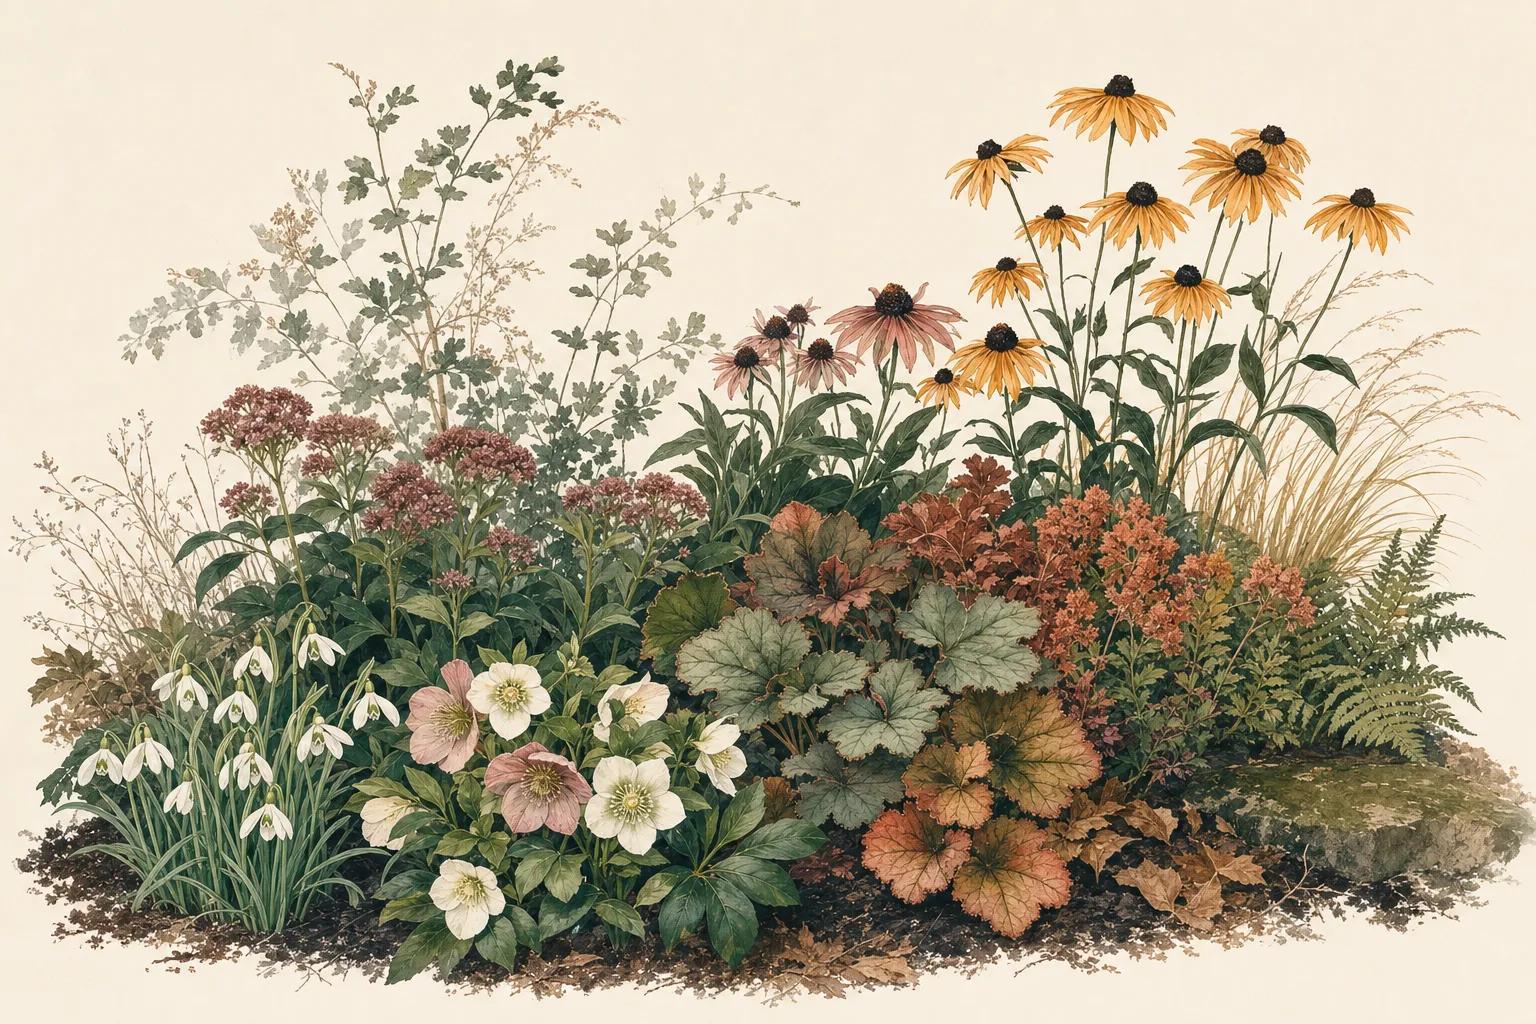
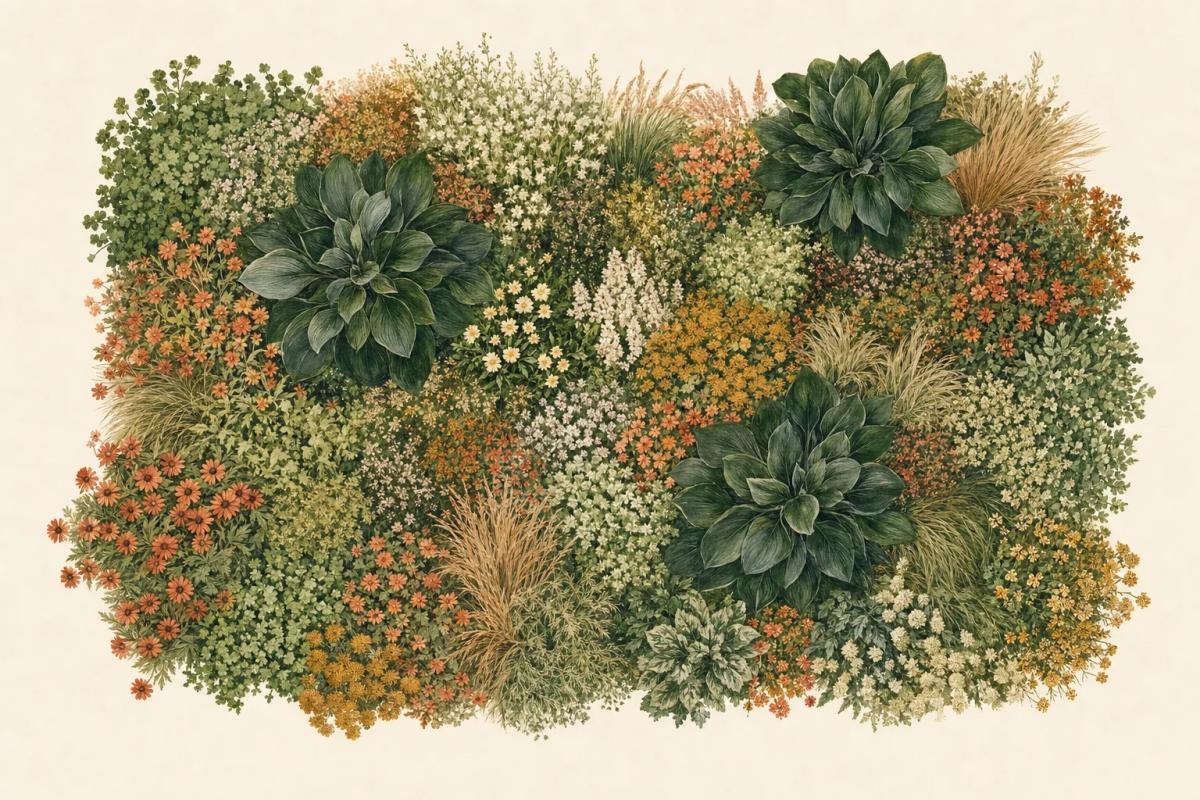
Ecological plantings mimic nature’s patterns, enhancing biodiversity and reducing maintenance. Instead of setting plants out in separate blocks, you weave them together in drifts, the way they grow in a meadow or at a woodland edge. The planting is designed to knit shut, so the soil disappears under foliage rather than under mulch.
The method is the reverse of a traditional border. Rather than deciding what each patch of ground will hold, you place a structure of strong plants and then let a supporting cast run between them.
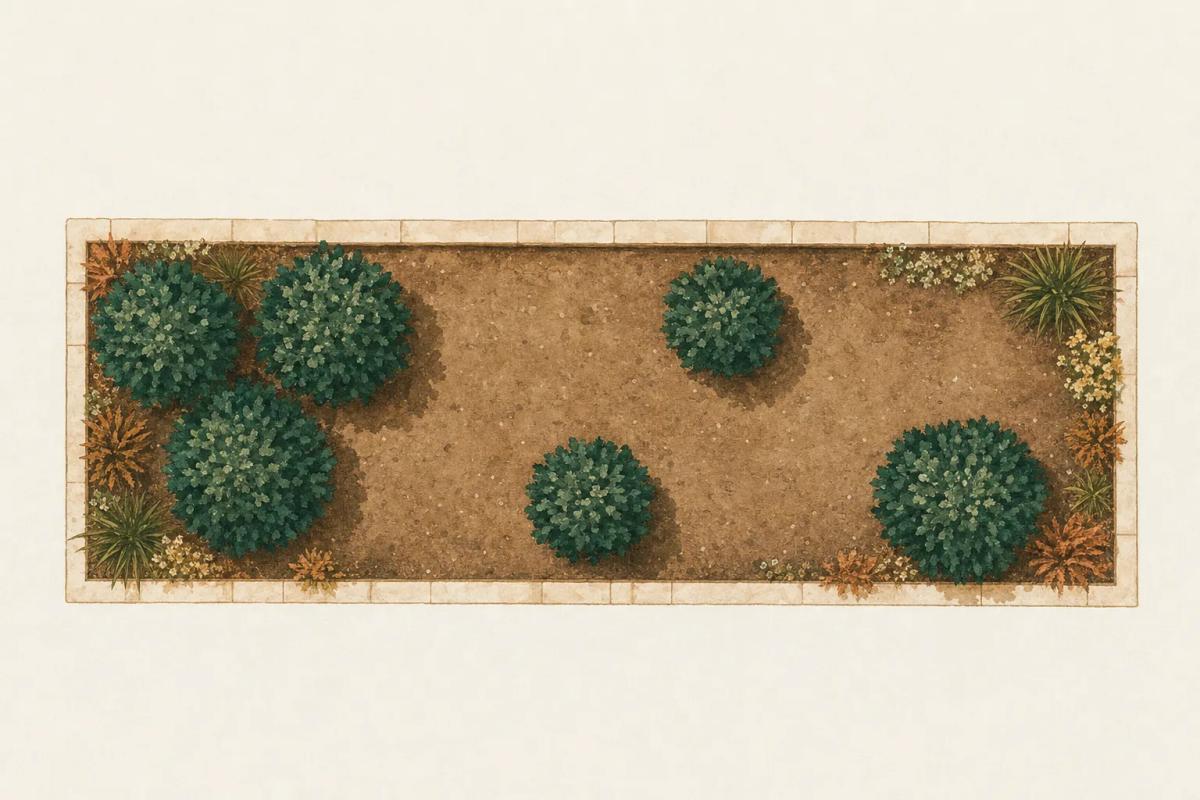
Step 1: Dominant Plants First
Begin by placing taller, dominant species to establish structure. These will anchor your ecological design.
Keep them sparse. Dominant plants should account for roughly one in ten of your total, spaced unevenly across the bed rather than in a rhythm — a group of three here, a single specimen there. Uneven spacing is what stops the planting reading as a pattern. These are the plants that hold the bed together in winter, so choose ones with a skeleton worth looking at: strong seed heads, upright stems, or persistent foliage.
Step 2: Filling in Gaps
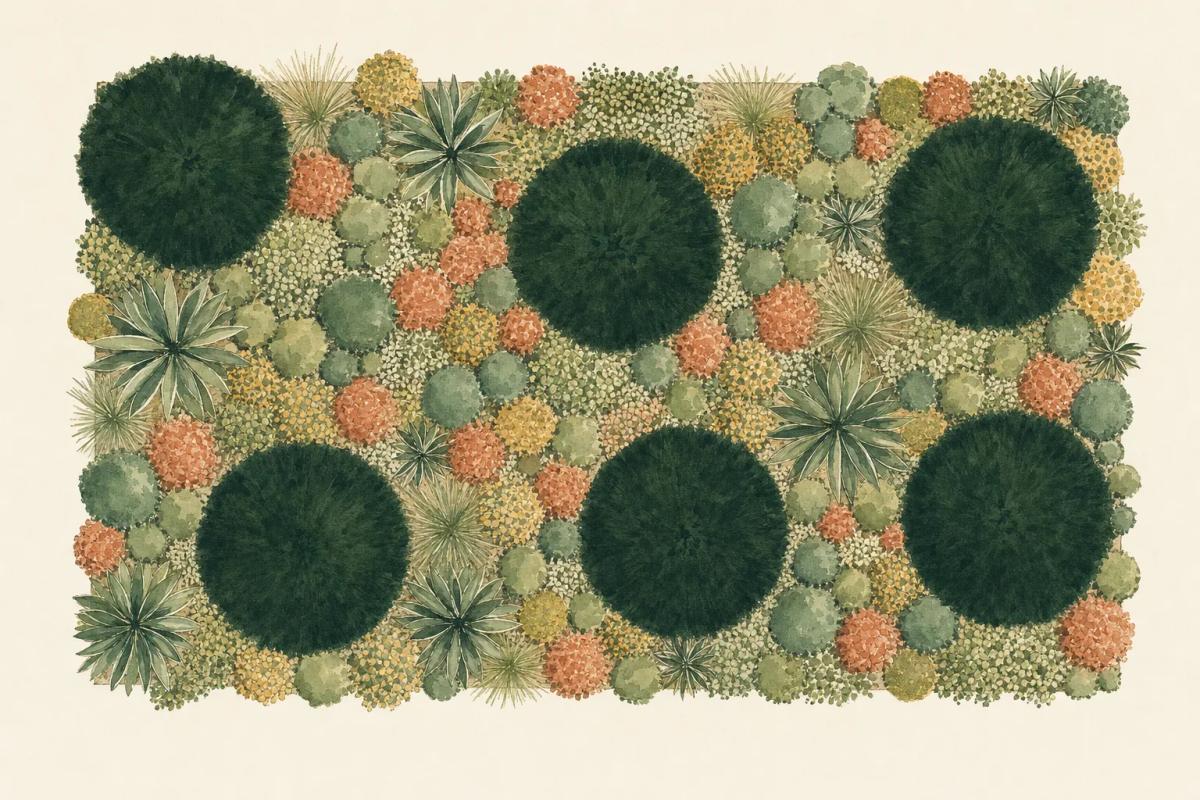
Fill-in plants are added last, closing any remaining spaces and creating a natural, harmonious look.
Work in two layers. First a matrix — usually a grass or a low, spreading perennial — repeated throughout the bed to bind everything into one fabric. Then the seasonal fillers, threaded through the matrix in loose drifts that cross and overlap rather than sitting in tidy groups.
The aim is complete cover. Every gap you leave is a gap a weed will take, so plant more closely than feels comfortable; a planting that looks slightly crowded in year one will look right in year three.
Benefits of Ecological Plantings
Ecological gardens typically have lower maintenance demands and fewer issues with weeds compared to conventional plantings. They also promote environmental health and wildlife support.
Most of that saving comes from the ground layer. Once the plants have closed over, there is no bare soil for weed seed to land on and no need to re-mulch each spring. Watering drops away too, as the canopy shades the soil and slows evaporation.
The upkeep that remains is different in kind rather than simply lighter: one cut-back in late winter instead of a season of deadheading, and an occasional edit — pulling out a plant that is winning too easily, adding another where something has thinned. You are managing a community rather than maintaining a set of individuals.
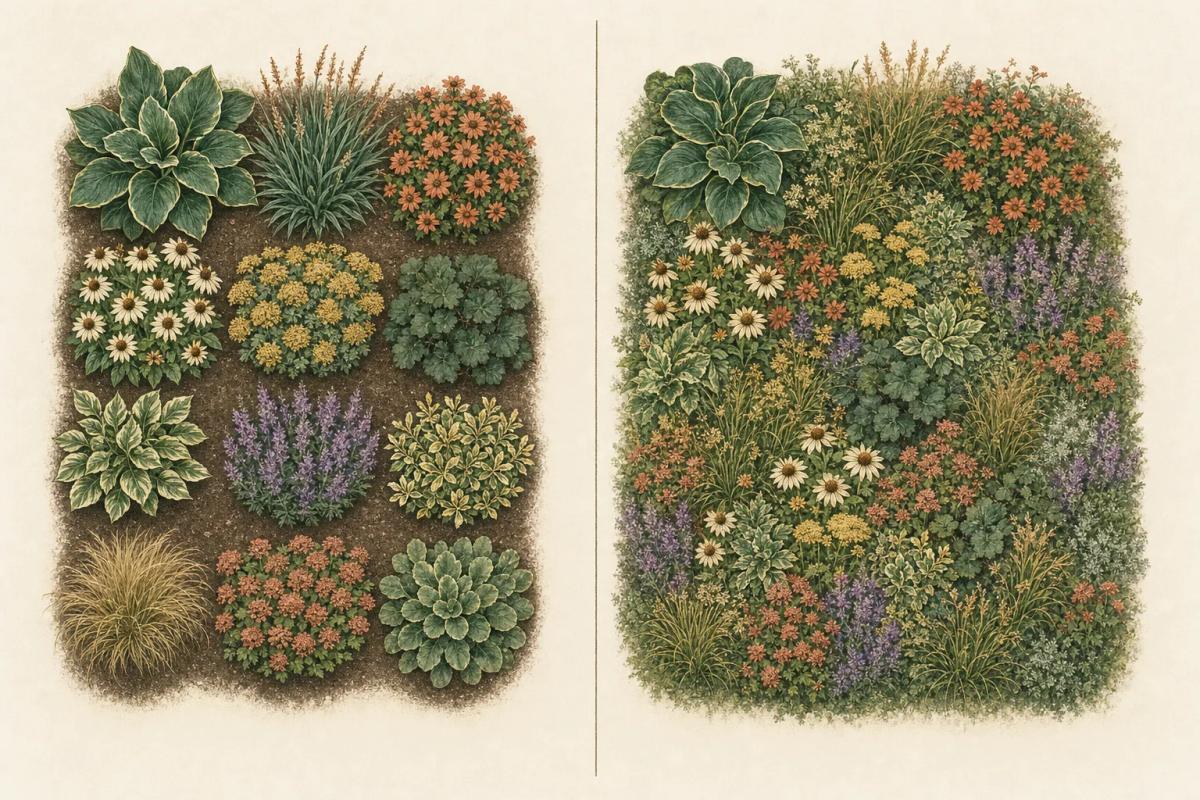
Comparison: Ecological vs. Traditional
Ecological plantings offer natural, sustainable beauty compared to the structured, block-like style of traditional borders.
Seen from above, the difference is obvious. A traditional border is made of distinct groups with soil between them, each plant given its own territory and held there. An ecological planting has no such boundaries: species run into one another, and the picture shifts a little every year as they find their own balance.
Neither is more correct. A traditional border gives you control and a tidy edge, and it is the easier choice against a house wall or a formal path. An ecological planting gives you a richer, more forgiving garden — but you have to accept a degree of change you do not get to dictate.
Final Thoughts
Whether you prefer the structured elegance of traditional borders or the dynamic charm of ecological plantings, thoughtful layout and strategic plant placement are key to success. Each style has its merits, and both can beautifully enhance your garden’s appeal.
Happy gardening!

Sarah Johnson
Master Gardener with 15 years of experience in sustainable gardening practices