The arrival of spring brings renewed energy to gardeners everywhere. As the frost recedes and the soil warms, it's the perfect time to prepare your garden for a season of growth and abundance. Whether you're a seasoned gardener or just starting out, these essential steps will help you create a thriving garden this spring.
Find Your Dates: Last Frost and Soil Temperature
Almost every spring job runs off one date: your average last spring frost. Hardiness zones are based on winter low temperatures, not frost dates, so the table below is only a rough guide. For your own date, ask your local extension service or look it up by ZIP code.
| USDA zone | Typical last spring frost |
|---|---|
| 3 | Mid-May to early June |
| 4 | Early to late May |
| 5 | Mid-April to mid-May |
| 6 | Early April to early May |
| 7 | Late March to mid-April |
| 8 | March, sometimes early April |
| 9 | Late January to February, and some years none |
| 10 | Frost is rare |
An average date is exactly that: frost still arrives after it in some years. That is why tender plants usually wait a week or two past it.
Soil temperature matters as much as air temperature, because seeds sown into cold soil sit and rot instead of sprouting. A soil thermometer pushed about 4 inches deep and read in the morning gives a reliable figure.
| Crop | When to plant | Temperature guide |
|---|---|---|
| Peas | Sow 4 to 6 weeks before last frost | Soil at least 40°F (4°C) |
| Spinach, lettuce, radishes | Sow 4 to 6 weeks before | Soil at least 40°F (4°C) |
| Potatoes | Plant 2 to 4 weeks before | Soil at least 45°F (7°C) |
| Carrots, beets | Sow 2 to 4 weeks before | Soil about 45°F (7°C) or warmer |
| Broccoli, cabbage | Plant hardened-off transplants 2 to 4 weeks before | Tolerate light frost |
| Tomatoes | Start indoors 6 to 8 weeks before; plant out 1 to 2 weeks after | Nights above 50°F (10°C), soil about 60°F (16°C) |
| Peppers, eggplants | Start indoors 8 to 10 weeks before; plant out about 2 weeks after | Nights above 55°F (13°C), soil about 65°F (18°C) |
| Beans | Sow after last frost | Soil at least 60°F (16°C) |
| Cucumbers, squash | Sow or plant after last frost | Soil at least 60°F (16°C), ideally 70°F (21°C) |
| Basil | Plant out 1 to 2 weeks after | Nights above 50°F (10°C) |
Spring Cleanup: What to Do and When
Cut back what you left standing. Cool-season grasses such as feather reed grass start growing early, so cut them to about 4 to 6 inches in late winter. Warm-season grasses such as switchgrass and little bluestem, and most perennials, can wait until early to mid-spring, as long as you cut before the new shoots get tall.
Go easy on the leaf litter. Many beneficial insects spend winter in leaves and hollow stems. If you can, wait until daytime temperatures are reliably in the 50s°F (10 to 15°C) before clearing beds. Cutting some stems to 12 to 18 inches, rather than to the ground, leaves nesting sites for stem-nesting bees; new growth hides the stubs within weeks.
Prune by flowering time. Shrubs that flower in summer on new growth, such as panicle and smooth hydrangeas and most modern roses, are pruned in late winter or early spring. Shrubs that flower in spring, such as lilacs, forsythia and azaleas, set their buds last year, so prune them just after they flower. Bigleaf hydrangeas mostly flower on old wood; in spring, remove only dead stems.
Divide in the right season. Divide summer and fall bloomers, such as hostas, daylilies, asters and sedum, as the new shoots appear. Leave spring bloomers until after they flower or until fall.
Weed early. Pull winter annual weeds such as chickweed and henbit now, before they set seed.
Wait to mulch. Mulch slows soil warming, so top up beds once the soil has warmed rather than in early spring. Then spread 2 to 3 inches; the mulch calculator works out how much to buy. For month-by-month jobs, see the garden calendar.
Understanding Your Garden's Microclimate
Before you purchase a single plant, take time to observe your garden's unique conditions. Even within a single property, you might have areas with different sunlight, moisture levels, and soil quality.
Pay attention to how water moves through your garden after rainfall. Identify areas that stay wet longer or dry out quickly. These observations will inform both your plant selection and placement decisions.
Watch temperature too. Cold air sinks, so low spots and the bottom of slopes can see frost later in spring than the rest of the garden. Beds against a south-facing wall warm up earlier and are the place to try your first sowings.
Soil Preparation: The Foundation of Success
The secret to a thriving garden isn't just about what grows above the ground. It's about what's happening below. Healthy soil is the foundation of a successful garden.
Is the Soil Ready to Work?
Squeeze a handful of soil from a few inches down. If it crumbles when you poke it, it is ready. If it stays in a sticky ball or water drips out, wait a few days. Digging or walking on wet soil, especially clay, squeezes out the air and leaves hard clods that can take a season to recover.
Testing Your Soil
Start by testing your soil's pH and nutrient levels. You can purchase a simple soil test kit from a garden center or send samples to your local extension service for more detailed analysis.
Most vegetables and flowers prefer soil with a pH between 6.0 and 7.0. If your soil is too acidic or alkaline, you can amend it with lime to raise pH or sulfur to lower it.
A lab test every three to five years is usually enough, and it tells you exactly how much lime, sulfur or fertilizer to add, which a home kit often cannot. Lime and sulfur work slowly, over months, so apply only what the test recommends and do not expect an instant change. A few plants want something different: blueberries, for example, need acidic soil around pH 4.5 to 5.5.
Enriching Your Soil
Once you understand your soil's composition, it's time to enrich it:
For Clay Soils:
- Add composted organic matter
- Avoid adding sand, which can make clay set harder
- Consider raised beds for better drainage
For Sandy Soils:
- Add plenty of compost
- Mix in aged manure
- Consider coconut coir to improve water retention
For a new bed, spread 2 to 3 inches of compost and work it into the top 6 to 8 inches. For established beds, a 1 to 2-inch layer on the surface each year is enough; worms and rain will take it down without digging. Use only well-rotted manure in spring, never fresh. If your clay drains so slowly that water stands for a day after rain, our guide to raised bed gardening covers building above it.
Selecting the Right Plants for Spring
When selecting plants for spring planting, consider not only your garden's conditions but also your local climate zone. Here are some reliable spring performers for different garden types:
Vegetable Garden Essentials
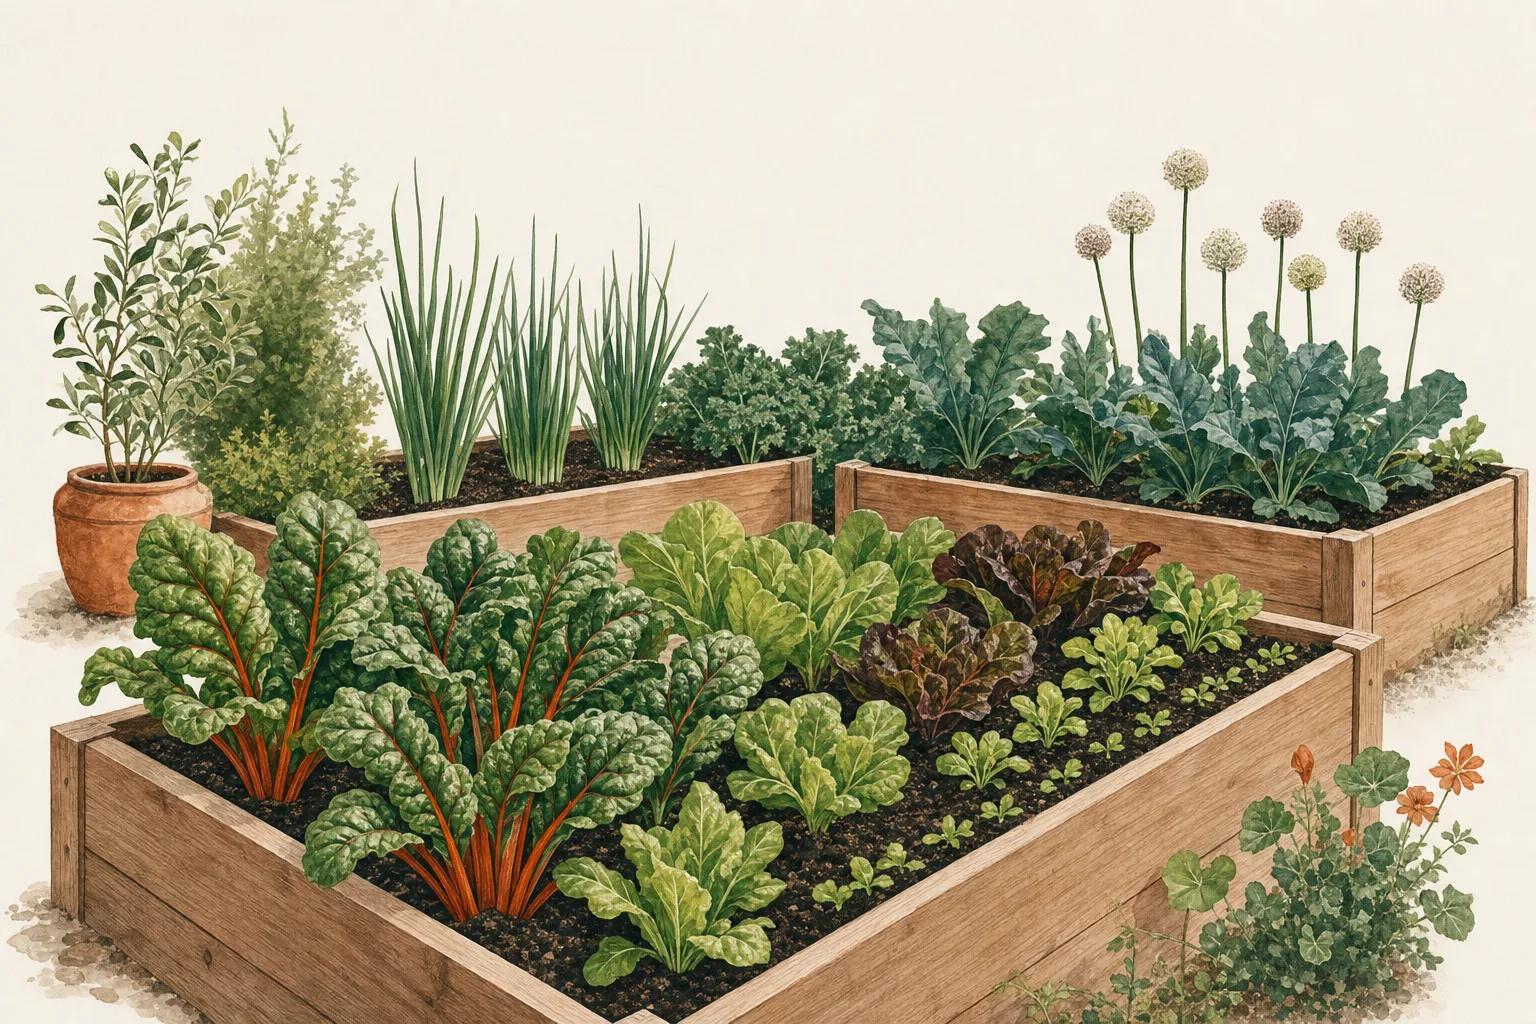
For spring vegetable gardens, focus on cool-season crops that can tolerate light frost:
Plant peas, spinach, lettuce, radishes, and other leafy greens directly in the garden once the soil can be worked. Indoors, tomatoes should already be started (6 to 8 weeks before last frost), and peppers and eggplants a couple of weeks before that.
Plant potatoes, carrots, beets, and Swiss chard. Harden off and plant out cool-season transplants such as broccoli and cabbage.
Transplant warm-season vegetables like tomatoes, peppers, and eggplants once they have been hardened off and nights stay above 50°F (10°C). Direct sow beans, cucumbers, and summer squash.
Flower Garden Favorites
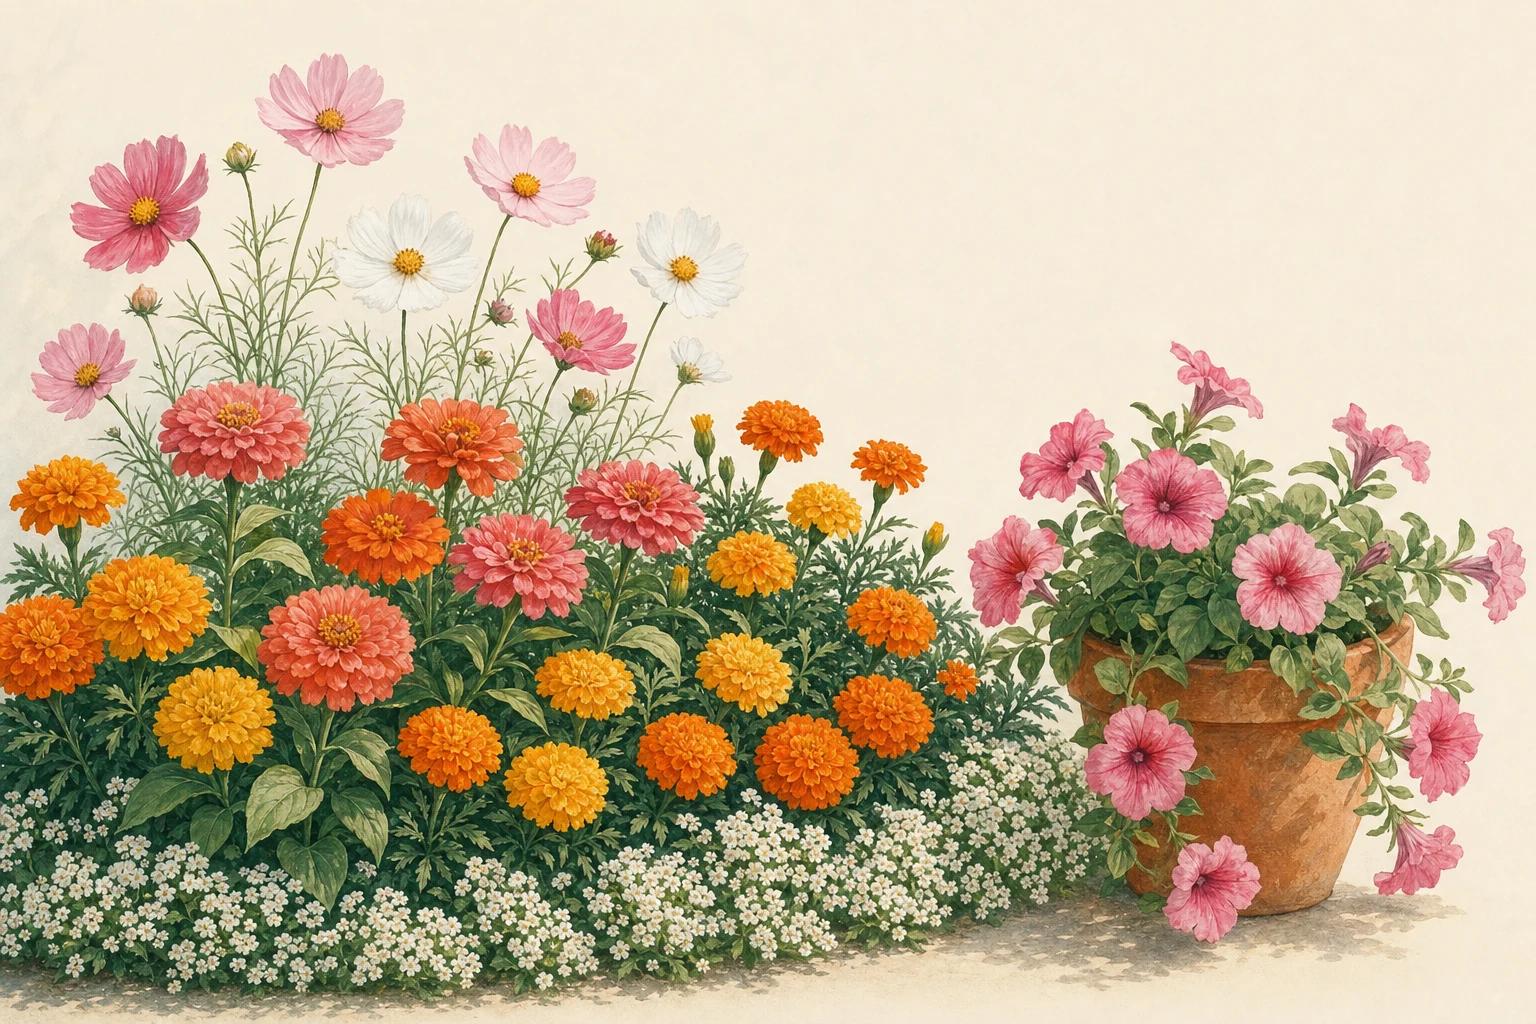
Spring is also ideal for establishing perennial flowers and planting annuals:

Coneflower (Echinacea)
Echinacea purpurea
Light: Full Sun
Water: Moderate
A hardy native perennial that attracts pollinators and provides summer-to-fall blooms. Drought tolerant once established.

Coral Bells
Heuchera spp.
Light: Partial Shade
Water: Moderate
Prized for their colorful foliage, these versatile perennials add texture and color to partly shaded areas.
Hardy perennials such as coneflowers and coral bells can go in as soon as the soil is workable, provided they have been hardened off. Pansies and violas shrug off light frost, so they are the first annual color of the year; our viola growing guide covers them. Tender annuals such as petunias, impatiens and zinnias wait until after the last frost. When you are ready to buy, Sow checks prices at 18 online nurseries every day, which makes it easy to compare before you order.
Hardening Off in 7 to 14 Days
Plants raised indoors or in a heated greenhouse need to adjust to sun, wind and cool nights before they go in the ground. Start with an hour or two outdoors in a sheltered, shaded spot, and add a little more time and sun each day. After one to two weeks, they should handle a full day of sun and a night outside. Bring them in if frost is forecast.
Proper Planting Techniques
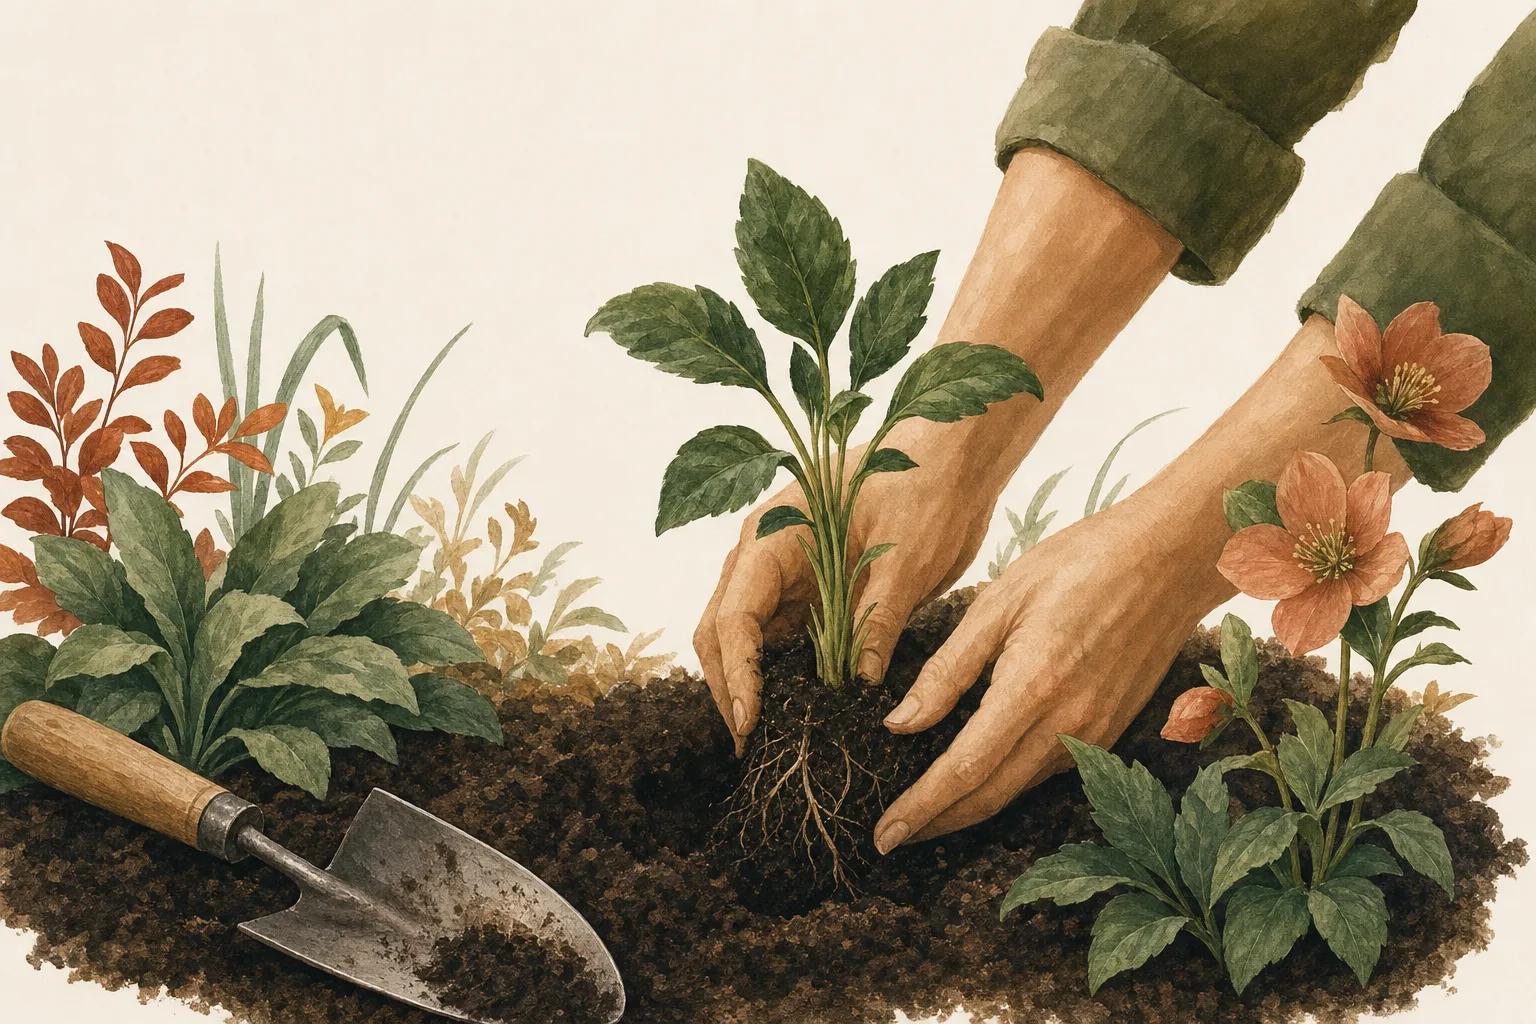
Once you've prepared your soil and selected your plants, proper planting technique ensures they get off to a strong start.
Instead, follow these steps for successful planting:
- Dig the right size hole - Generally, the hole should be twice as wide as the root ball but no deeper than the root ball height.
- Gently loosen roots - For potted plants, gently tease apart any circling roots before planting.
- Plant at the right depth - The top of the root ball should be level with or slightly above the soil surface.
- Water thoroughly - After planting, water deeply to settle the soil around the roots.
- Apply mulch - Add 2-3 inches of mulch around (but not touching) the plant stems to conserve moisture and suppress weeds.
Water the pots an hour before planting, and plant on a cloudy day or in the late afternoon if you can, so roots have a cool night to settle before the first full day of sun.
Creating a Watering Strategy
Establishing a consistent watering routine is crucial for spring plantings. Young plants have not yet developed extensive root systems and will need more frequent watering than established plants.
As a rough guide, established beds need about 1 inch of water a week from rain and irrigation combined. A straight-sided can set in the bed shows how much a sprinkler or a storm actually delivered. New transplants are different: check them daily for the first week or two, because their roots are still confined to the original root ball.
Signs of Underwatering
- Wilting leaves, especially during the heat of the day
- Dry soil that pulls away from the edges of the container or garden bed
- Crispy, brown leaf edges
- Slow or stunted growth
Signs of Overwatering
- Yellowing leaves, particularly lower leaves
- Soft, limp stems
- Mold or fungus on soil surface
- Rotting smell from the root zone
Water deeply and less frequently rather than shallowly and often. This encourages plants to develop deeper root systems that are more resilient during dry periods.
Spring Garden Maintenance
Regular maintenance will keep your spring garden thriving:
Weekly Tasks
- Monitor for pests and diseases
- Remove weeds while they're small
- Check soil moisture and water as needed
Monthly Tasks
- Apply organic fertilizer according to plant needs
- Refresh mulch as it breaks down
- Prune for shape and to remove damaged growth
Common Spring Mistakes
- Working wet soil. It ruins structure for months. Do the squeeze test first.
- Trusting a warm spell. A week of warm weather before your last frost date tempts people to plant tomatoes and basil. A single cold night can set them back for weeks.
- Pruning spring shrubs too early. Cutting lilacs or forsythia in March removes this year's flowers.
- Skipping hardening off. Indoor-raised seedlings planted straight out often scorch in the sun.
- Sowing too thickly. Crowded seedlings grow weak. Thin them to the spacing on the seed packet.
Conclusion
Spring planting sets the stage for your garden's performance throughout the growing season. By understanding your garden's conditions, preparing your soil properly, selecting appropriate plants, and establishing good maintenance routines, you'll create a garden that thrives from spring through fall.
Remember that gardening is both a science and an art. Don't be afraid to experiment, learn from both successes and failures, and adjust your approach based on your observations. Each growing season offers new lessons and discoveries that will make you a better gardener.
When the ground is ready, our guide to planning a spring garden covers layout and what to grow.
Frequently Asked Questions
When should I start preparing my garden for spring?
Start in late winter with the indoor jobs: order seeds, send off a soil test and start any long-season seedlings. Outdoor bed work can begin once the soil passes the squeeze test, often four to six weeks before your last frost.
How do I know when the soil is ready to plant?
Squeeze a handful. If it crumbles, it is workable; if it stays in a sticky ball, wait. For seeds, check soil temperature too: peas and lettuce sprout from about 40°F (4°C), while beans and squash need 60°F (16°C) or more.
Should I till my garden every spring?
Usually not. Tilling breaks down soil structure and brings buried weed seeds to the surface. Dig or till once to make a new bed or break up compacted ground, then add compost on the surface each year.
When is it safe to plant tomatoes outside?
About one to two weeks after your average last frost, once nights stay above 50°F (10°C) and the soil is around 60°F (16°C). Harden the plants off for a week or two first.
Can I plant perennials before the last frost?
Yes. Hardy perennials can go in as soon as the soil is workable, as long as they have been hardened off. Plants straight from a heated greenhouse need a week or two outdoors first.

Garden writer covering planting design, seasonal care, and getting the most from a small space.